Most beginner tutorials on how to edit videos start by teaching you keyboard shortcuts for a complex, cluttered timeline. They tell you to spend hours manually color-matching raw footage from different cameras, cutting out "dead air," and scouring the internet for expensive stock clips to cover your mistakes. In 2026, that is a relic of the past.
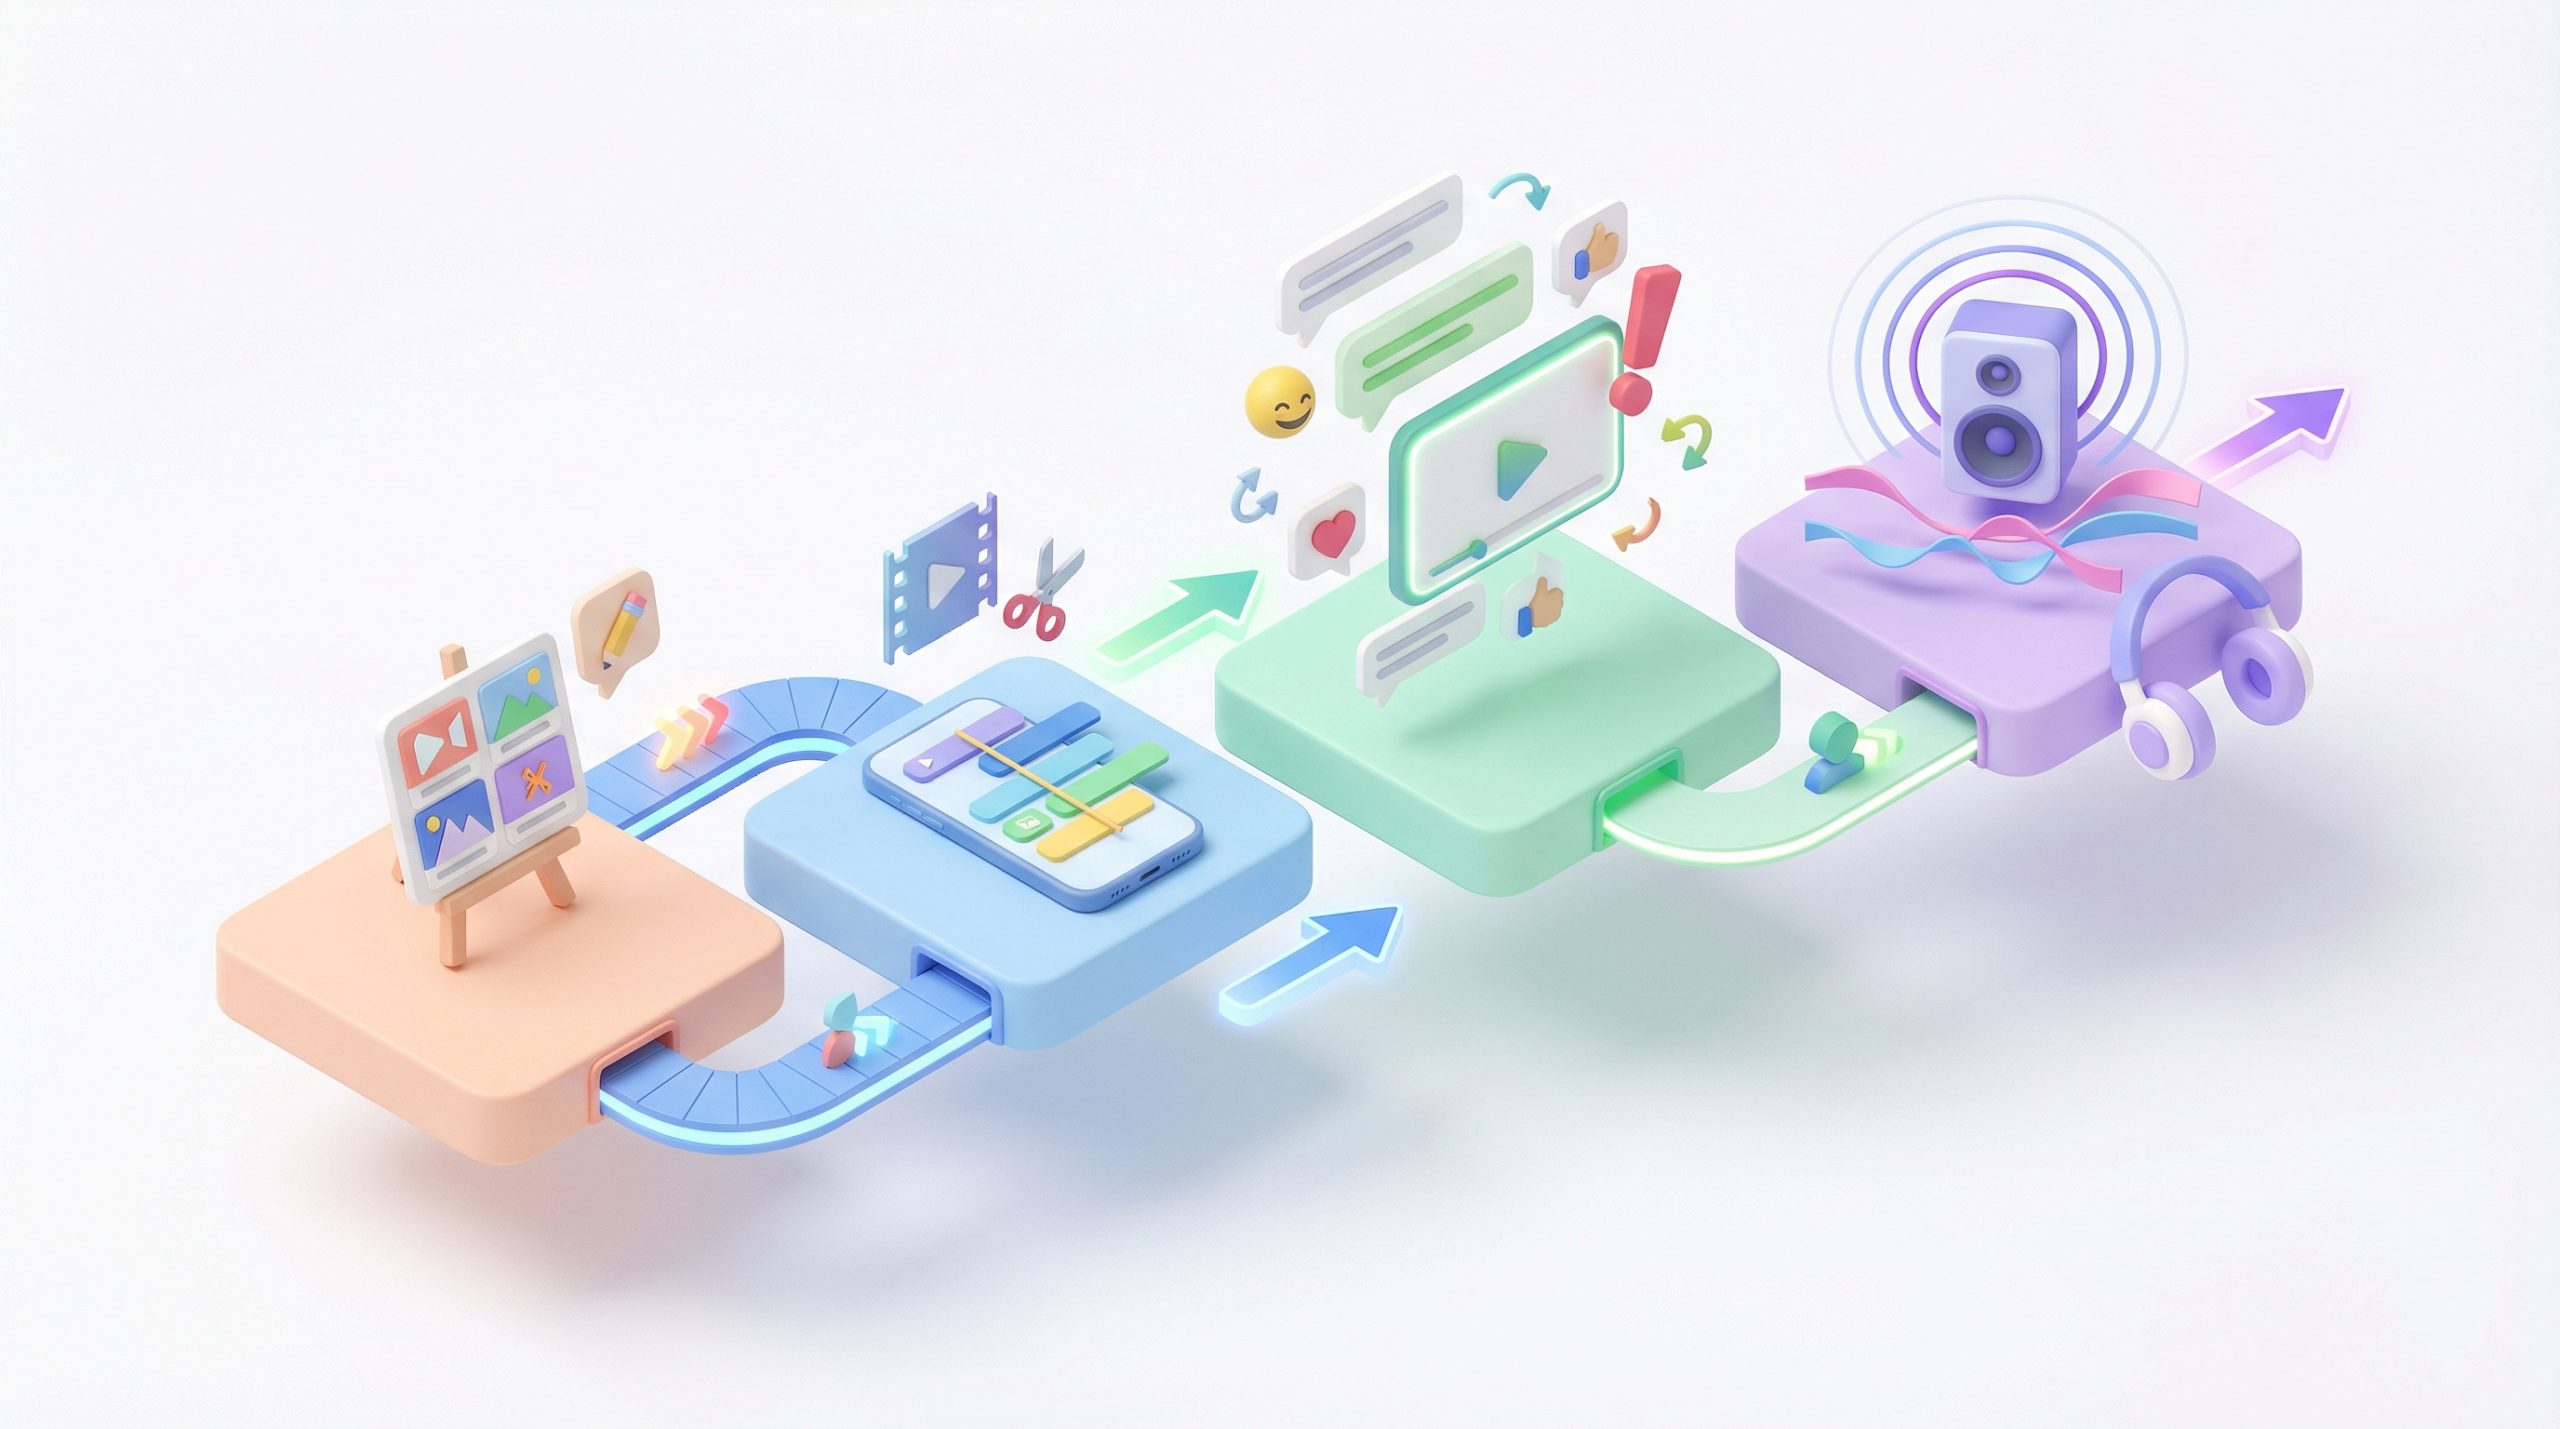
If you use an AI generator, your post-production process actually begins before you ever hit render. The modern workflow eliminates traditional timeline friction because you do not need to fix clips if the scene is generated perfectly the first time. Here is the definitive, four-phase framework on how to edit videos when your raw material is built natively through AI.
Phase 1: Lean into Pre-Production
The traditional editing suite is a place to fix mistakes. You cut out the bad takes and stitch together the good ones. An AI-native workflow flips this entirely: the editing happens in the prompt box and the storyboarding phase. Instead of rendering an hour of random footage and chopping it down, you build a precise, scene-by-scene narrative.
- Generate Targeted Assets: Use an AI story builder to generate unique clips that match your script exactly, ensuring there is never a dull moment in your first video.
- Fill the Gaps Instantly: If you find yourself missing specific B-roll or transition shots during the edit, you can use generative media to fill those gaps immediately.
- Eliminate Continuity Errors: Use specific character profiles to ensure your protagonist looks the exact same in every shot, removing the need for "fix-it" crops in post-production.
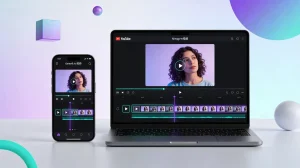
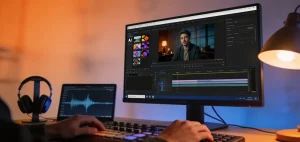
Phase 2: Use the “Mobile Suite” to Edit Videos Without a Desktop
Once your visual assets are generated, you need to assemble them. You no longer need a massive desktop computer or complex software; professional creators now manage their timelines directly on their phones.
- Import and Assemble: Start a new project in a mobile suite like the YouTube Create app and import your generated media.
- Refine the Rough Cut: Use the split tool to cut a single clip into multiple parts, allowing you to delete mistakes or rearrange the order of your story.
- Unify the Aesthetic: Apply filters and color correction to ensure that clips filmed in different lighting conditions look uniform and professional. Pushing all your footage through a single color grade masks generative flaws and unifies the visual brand.
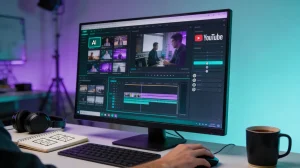
Phase 3: Edit Videos for Maximum Discovery
Retention is the key metric for algorithmic success. To keep people from clicking away, you need to give them a visual reason to stay engaged every few seconds. When you learn how to edit videos for social media, text and graphics become your most powerful hooks.
- Build a Text Hierarchy: Do not just rely on audio. Use animated text overlays to highlight key takeaways so that even if a viewer is skimming, they still get the value of your video.
- reset the Attention Span: Use stickers and emojis to emphasize a joke or a tip; these small visual "pops" keep the viewer from scrolling past.
- Prompt Visual Action: Do not just verbally ask people to subscribe; apply and animate elements like a sliding button to prompt action visually and drive real conversions.
Phase 4: Automate Your Audio
Audio is often more important than video quality. A viewer might tolerate a slightly grainy image, but they will immediately swipe away from bad sound. Traditional editors spend hours nudging audio tracks left and right to match a subject's lips perfectly. You can skip this tedious process entirely.
- Clean the Signal: Use native cleanup features to remove background noise from your vocal recordings.
- Layer the Soundscape: Add and edit audio by browsing a library of royalty-free music and sound effects directly within the app.
- Sync the Physics: For the most professional results, use an AI lip-sync tool to ensure your characters' speech perfectly matches your high-quality narration.
- Optimize Accessibility: Enhance your videos with captions automatically, which is essential for viewers watching on social media without headphones.
Key Takeaway: Fix Before You Post, Not After
The secret to high-volume creation is removing friction. By adopting a four-phase workflow to generate precise assets, assemble mobile timelines, layer dynamic text, and automate your audio sync, you bypass the amateur phase entirely. When you know how to edit videos with an AI-first approach, you stop acting like a mechanic fixing broken footage and start acting like a director building a premium brand.
![15 Top Cartoon Characters of All Time [New List]](https://blog-new.magiclight.ai/wp-2/wp-content/uploads/top-cartoon-characters-300x168.webp)
![9 Best AI Video Generation Models in 2026 [Easy Selection]](https://blog-new.magiclight.ai/wp-2/wp-content/uploads/best-ai-video-generation-models-300x168.webp)